Today I will show you how to make a simple Grandmother's Flower Garden Pin Cushion using paper pieced hexagons.
What you will need:
Enough EPP hexies to make one flower. 1 center and 6 petals. I used 1" per side hexies. See
yesterday's tutorial to make your own EPP Hexies.
Small scrap of batting.
Background and backing fabric
A piece of fabric for layering the 'quilt' part. Muslin would be perfect for this.
Stuffing
Figure out how you want your flower to look and start whip stitching the flowers together.
When they are all pieced, press with a dry iron. Steam will make the papers curl.
Now you can take out the basting stitches and papers.
Press again.
Pin your flower to your top layer of fabric and applique down. You can use your applique method of choice. Hand, fusible or machine. I don't think I would recommend fusibles, however, since pins will be going through it at a regular basis and may get gummy.
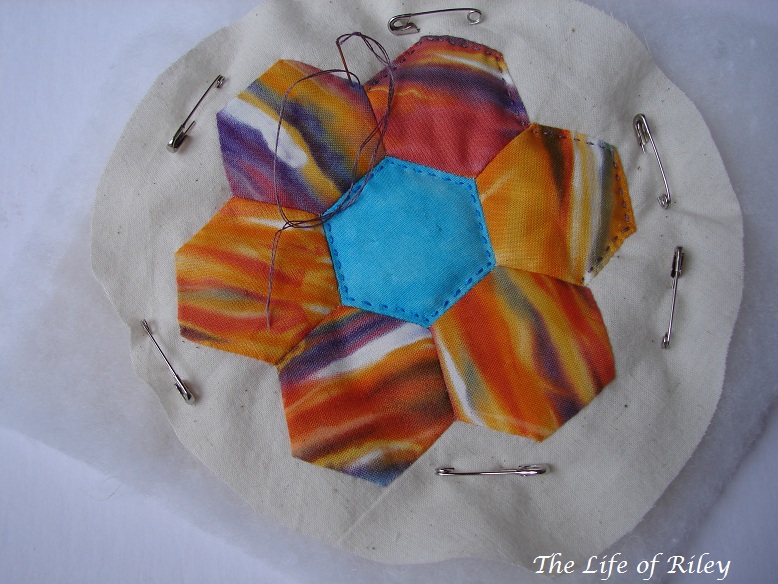
Applique down your flower. I chose hand applique.
Now you are going to make a small quilt sandwich. Top, batting and quilt backing layer. Again muslin or other scraps you have laying around would be great.
Now add some quilting. I did some hand quilting with embroidery floss here. Machine quilting would be great, too. Remember your just accenting, don't do microstipples or your pins won't go through.
After it's all quilted, baste around the edge of the flower, with your sewing machine. This will give you a stitching line to follow so you don't accidentally catch the flower petals in the seam.
Trim about a 1/4" around the whole flower.
Pin wrong side of flower to backing fabric - leaving space to turn.
Stitch along the basting line, trim seams, cut corners and clip points.
Turn, and stuff with batting.
Slip stitch your hole closed and you've got a cute little pin cushion.
Tomorrow I'll share a similar, but slightly easier version.