First I hit up the LQS for some watery background fabric. While I have a lot of blues in the stash, no one big piece for something like this.
It was wavy vs. bubbly. I went with wavy.
About two years a go a friend who was moving, gave me two paper grocery sacks of upholstery samples. I pulled all the blues, fused wonder under to the backs and started cutting fish - free hand.
And starting laying them out. I did know that I wanted darker on the edges and lighter in the middle.
In this picture you can see a couple things. First, I moved everything on top of towels on the table, so I could iron on the table. Second, I pushed the fish closer together. This was when I decided that I wanted to add in more tiles for the edges around the fish. I was originally thinking just the fish, but it wasn't quite the effect I was looking for.
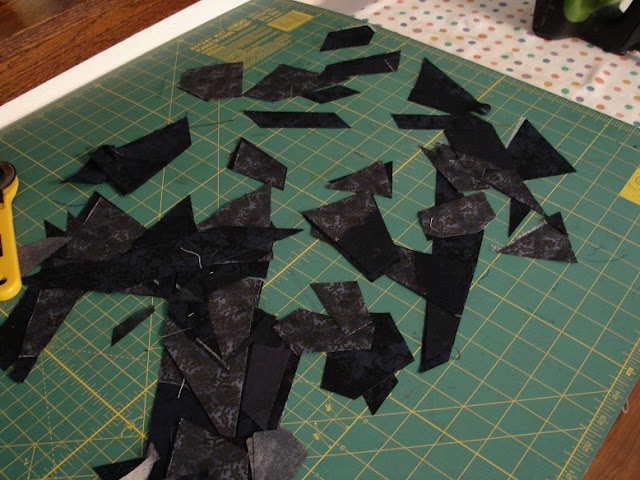
How I made the tile pieces. I fused scraps of dark blues - something like 7-8 different fabrics of varying amounts - basically what I had laying around and guessing how much I might need in total. Then I stacked them up and cut straight lines with the rotary cutter, moving the pieces around so they were not all the same shape and size.
If you ever decide to do something like this, make sure you peel the paper backing off first, before you do the slicing. Ultimately less papers to pull off.
Then I started laying down tile pieces, trying to make them fit the best I could. Occasionally I would trim or cut to fit. I can't imagine doing this for real tiles!
Because of the varying fabric make-ups of the fish, I used a piece of parchment paper for pressing so I didn't wreck any of the fabrics. Make sure to press as you go - a certain child walked by and knocked a bunch of tiles to the ground, not cool. I was much more diligent after that about getting them at least tacked down in small groups.
An in progress shot of my table. After looking at this picture, I made the spaces between the tiles smaller. I also filled in some open areas between the fish, as well.
This shot is everything in place, ready for the next step;
Choosing an overlay. I didn't bring my quilt to the store, so it probably cost me more than necessary, but I bought four nettings to try out.
I ended up using the upper left blue in this picture. The navy was ok, but the I liked how the blue brightened it all up. The light blue was too light and the pretty turquoise turned out to not be see through enough.
As I mentioned in the reveal post, even Mr. Riley commented on how blue it turned with the net.
I did spray baste the backing, batting and top and then pinned the net over it all. I don't ever use spray baste on its own. I don't trust it.
The binding is black - I did that to set off the blues of the quilt.
Two things I learned working on this quilt for you to keep in mind.
1. Make sure that everything is very solidly fused down before you start the quilting. I had pieces trying to come off and move around after I started pushing the thing through the machine for quilting.
2. Quilting on the diagonal will distort your quilt. It will. Be prepared. For this quilt, it wasn't a big deal, I just trimmed it back to square, but if it was a pieced quilt that needed to stay square, it would be something to keep in mind.


2 comments:
I love the quilt. What I really love is seeing how you went through the process from idea to finished design. Really inspiring.
I really appreciated the process discussion. And I love the quilt.
Post a Comment